This guide walks you through embedding a Bodygraph chart calculator into Hostinger’s drag-and-drop website builder — including important setup tips, common mistakes, and troubleshooting advice.
⚠️ Important: This tutorial applies only to Hostinger’s own drag-and-drop website builder, NOT WordPress or custom-coded websites hosted on Hostinger.
Step 1: Log Into Both Platforms
Before starting:
Open Bodygraph in one browser tab.
Open Hostinger Website Builder in another tab.
Log into both accounts.
Enter Editor Mode inside Hostinger.
Pro Tip: When working across platforms, always log into everything first to avoid session timeouts during setup.
Step 2: Decide Where the Chart Should Appear
Your chart placement is extremely important for visibility and sales.
Best Placement Practices
Place it on the homepage, OR
Ensure it’s accessible within one click
Use a clear menu link
Add a strong Call-to-Action (CTA) button
Important Sales Tip:
The harder your chart is to find, the fewer reports you’ll sell.
Make it obvious and easy to access.
Step 3: Create or Edit an Embed Code in Bodygraph
Inside Bodygraph:
Navigate to Embed Chart section and click Create New
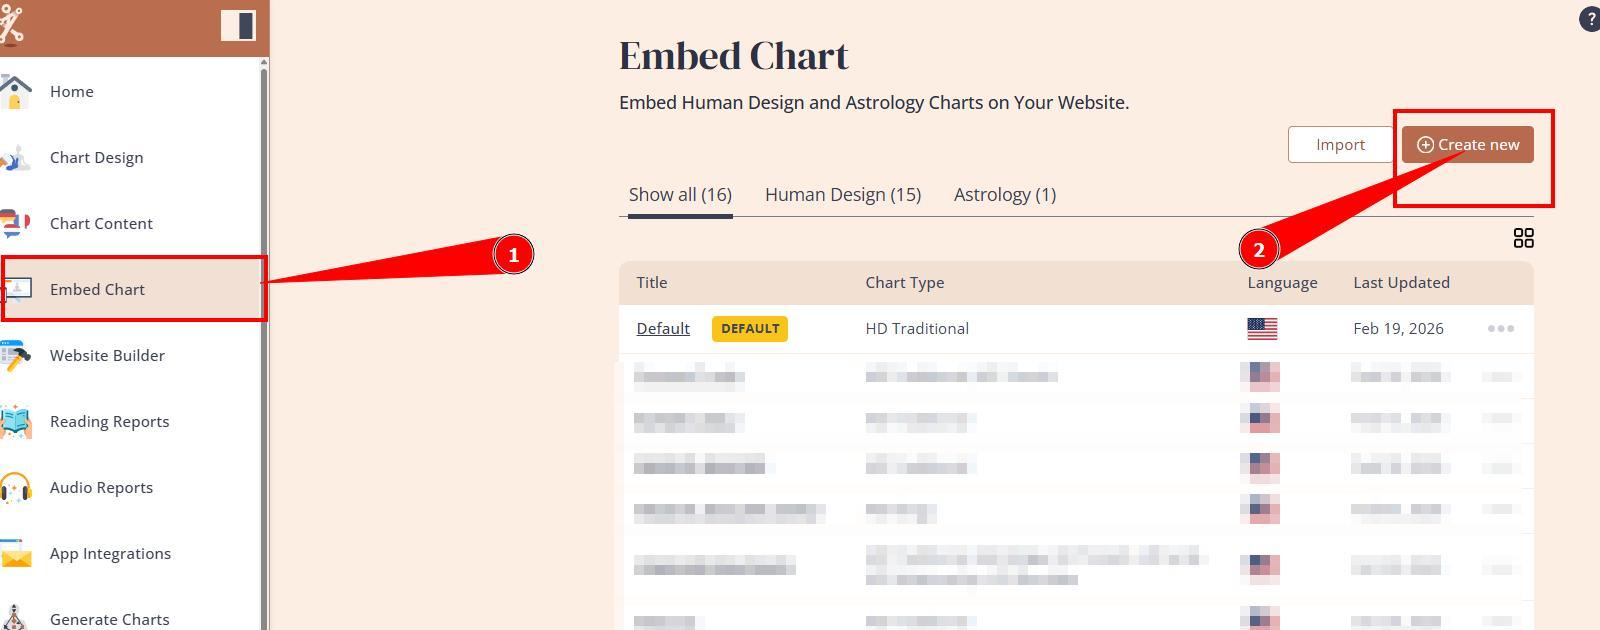
Give your embed code a name (for your internal reference) and select the chart type (e.g., Traditional Human Design)
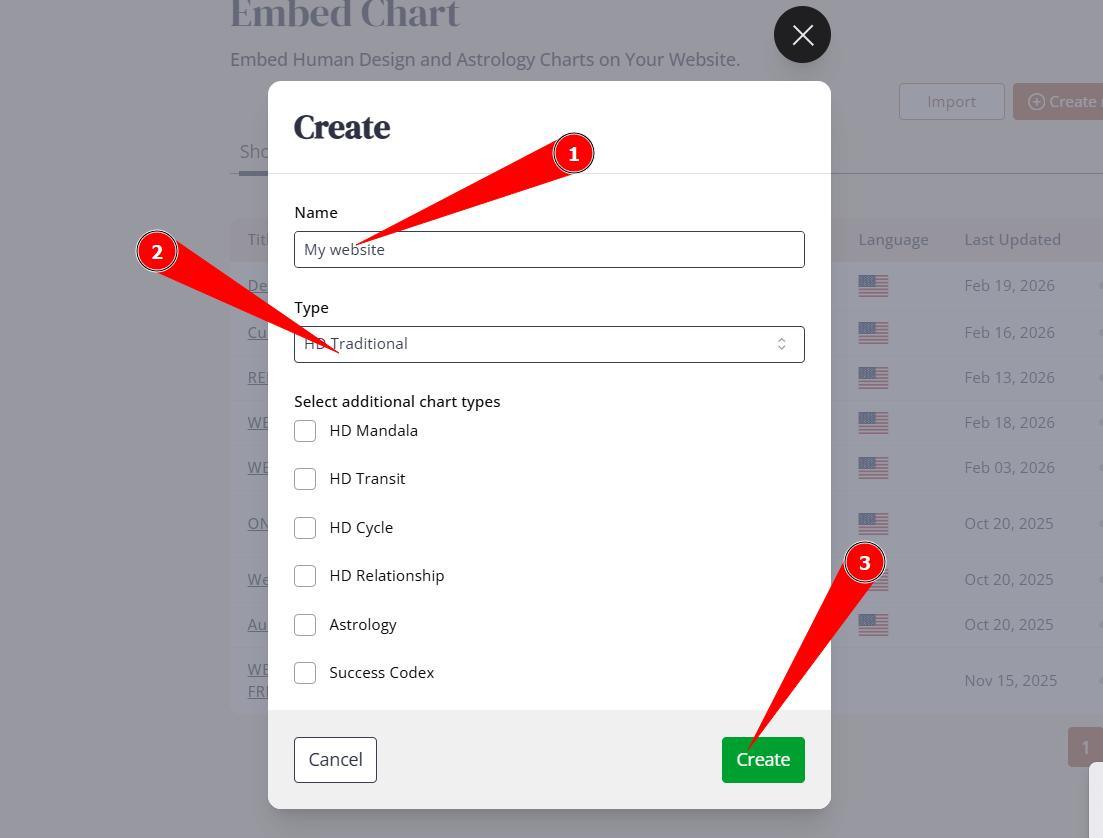
Click Create
You’ll be redirected to your embed code panel.
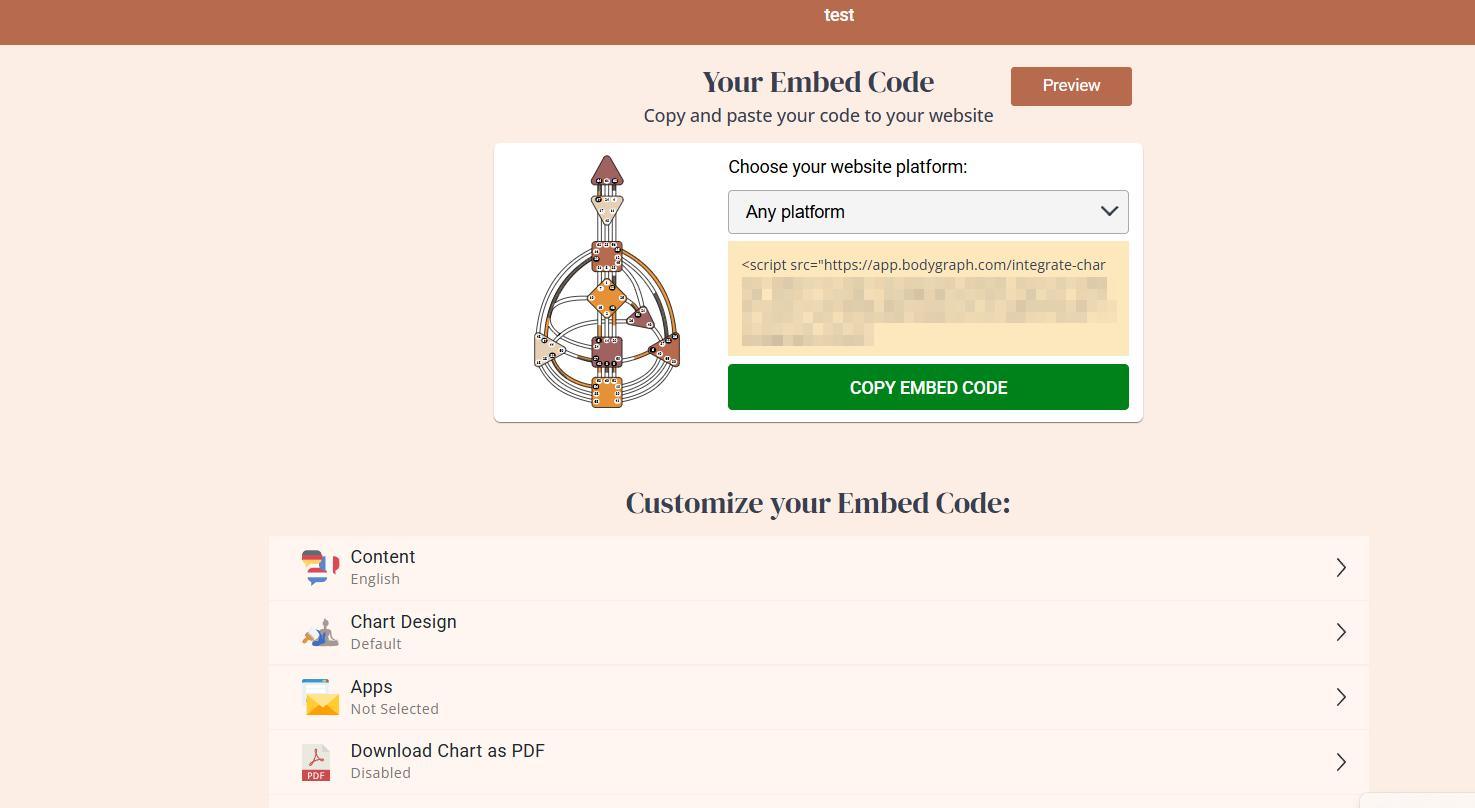
Think of this panel as your remote control for everything that appears on your website.
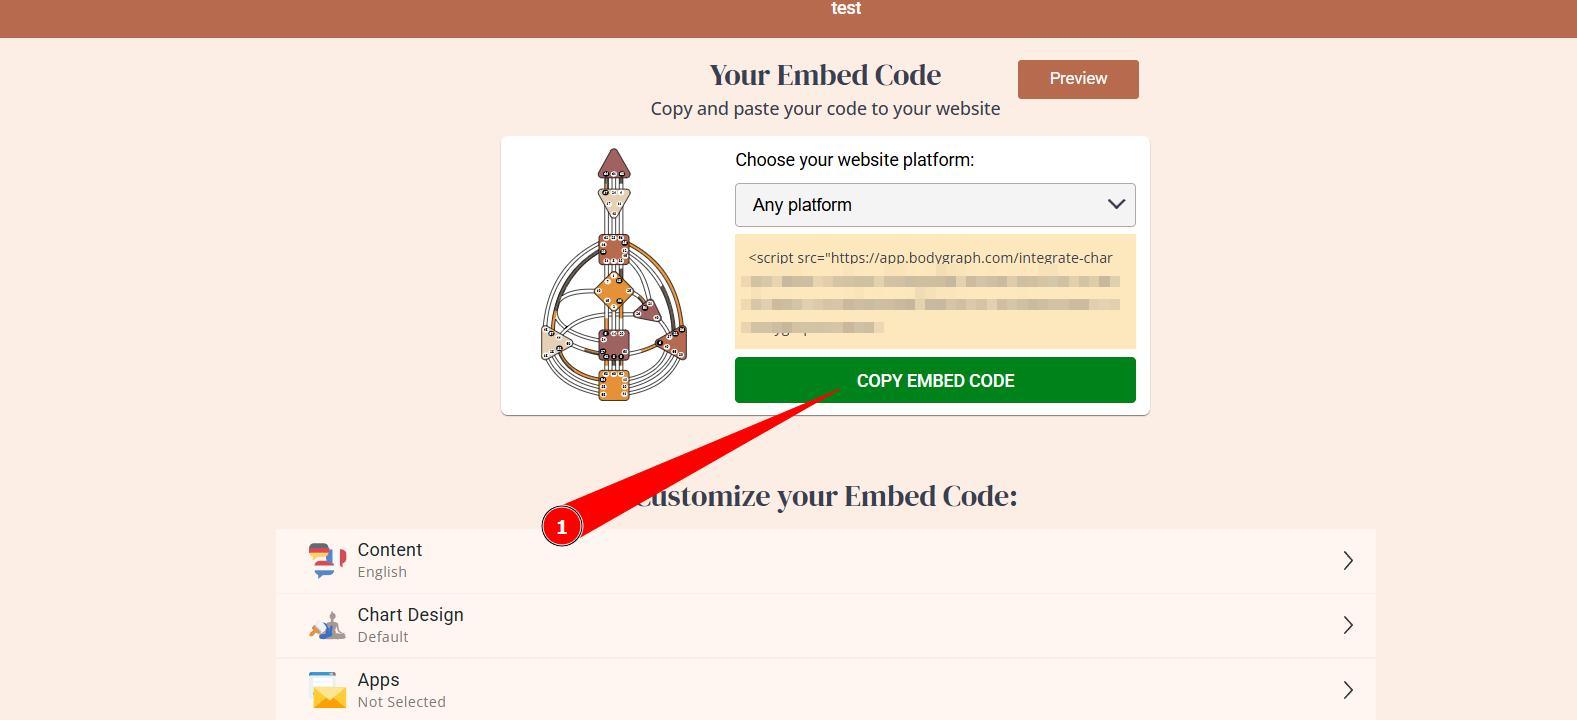
Step 4: Copy the Embed Code and paste to Hostinger Embed code section
Simply:
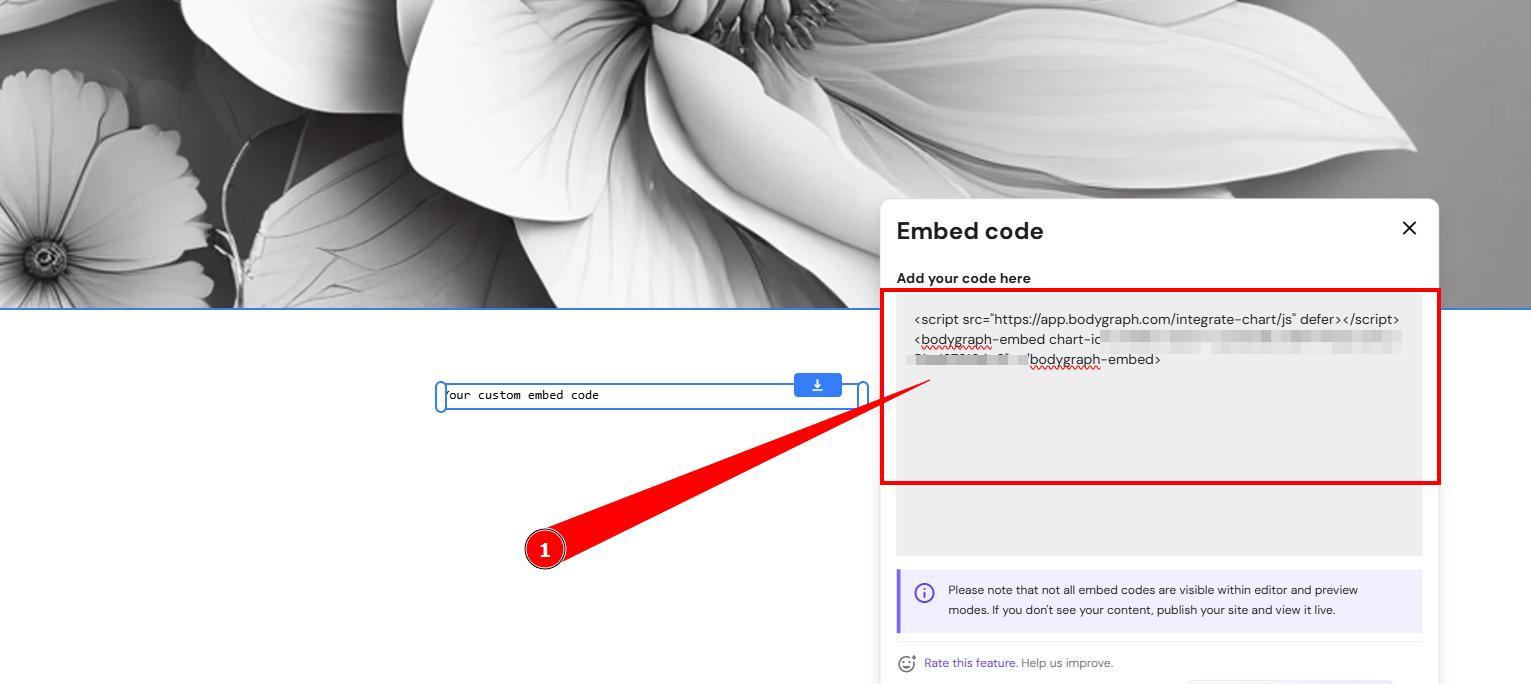
Click Copy
Go to Hostinger
Inside Hostinger Website Builder navigate to the page where you want the char and then click Add Element.
Select Embed Code
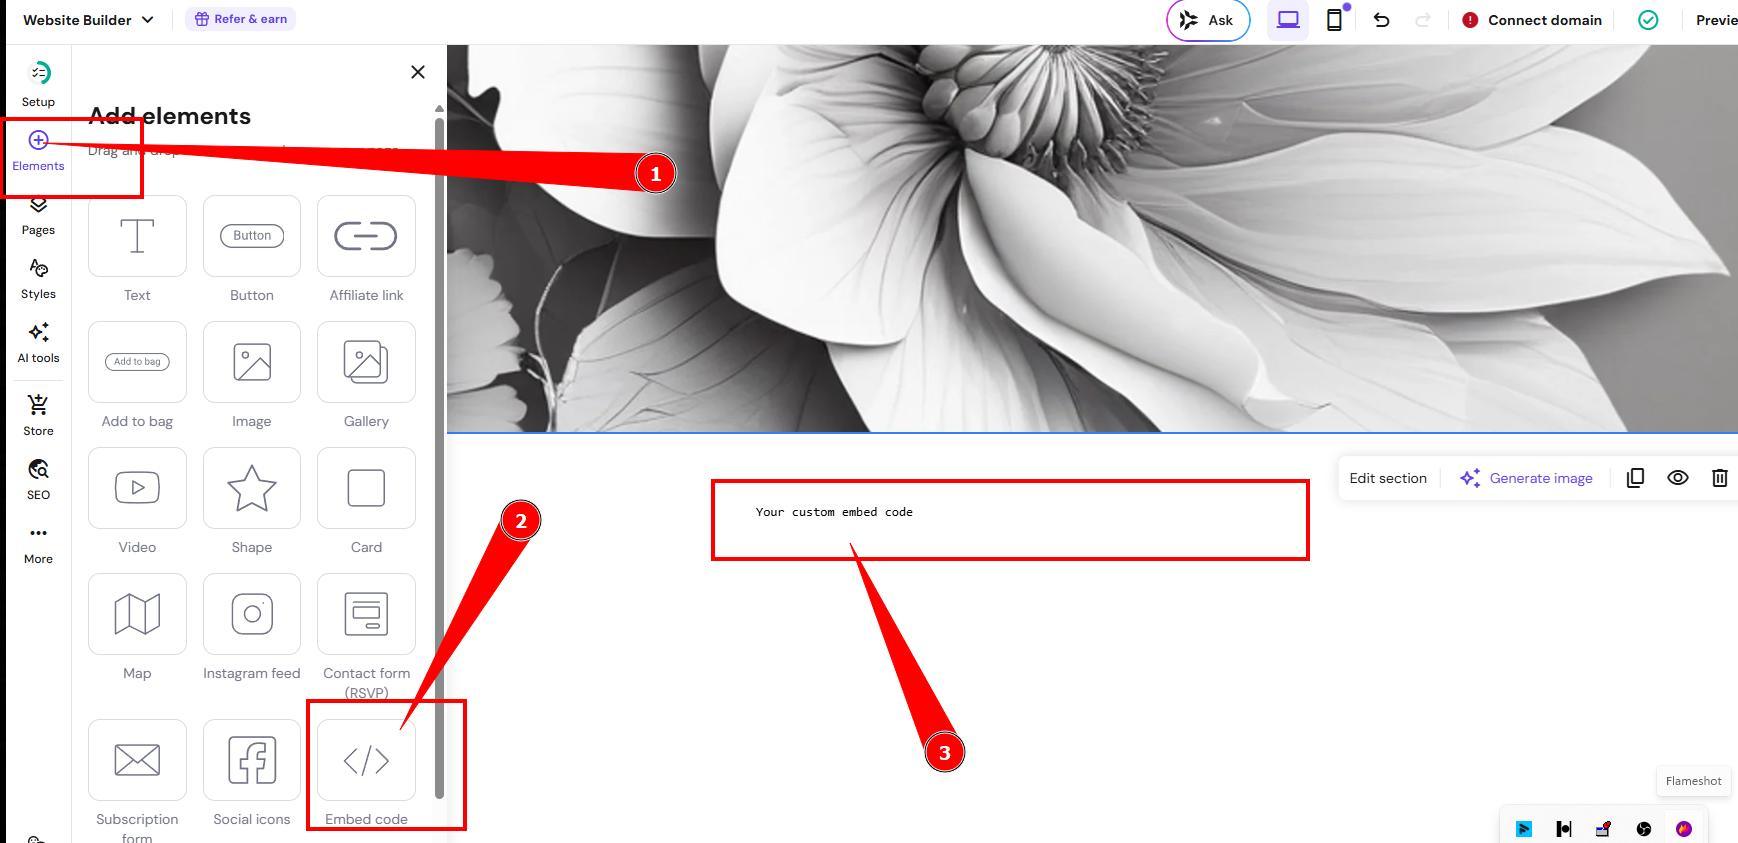
Edit code, paste your Bodygraph embed code and click Save
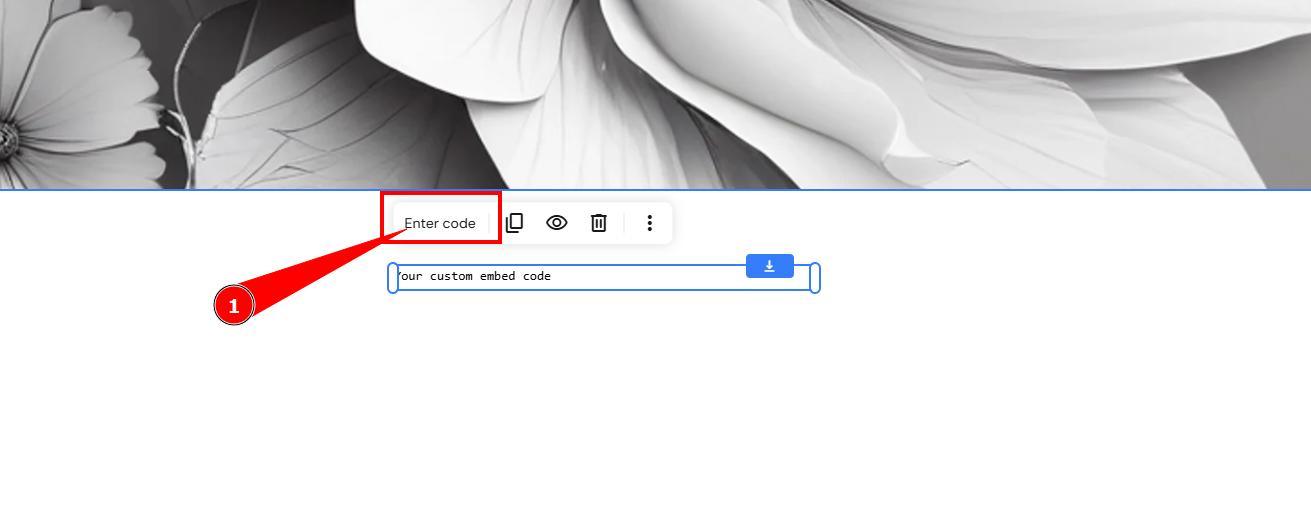
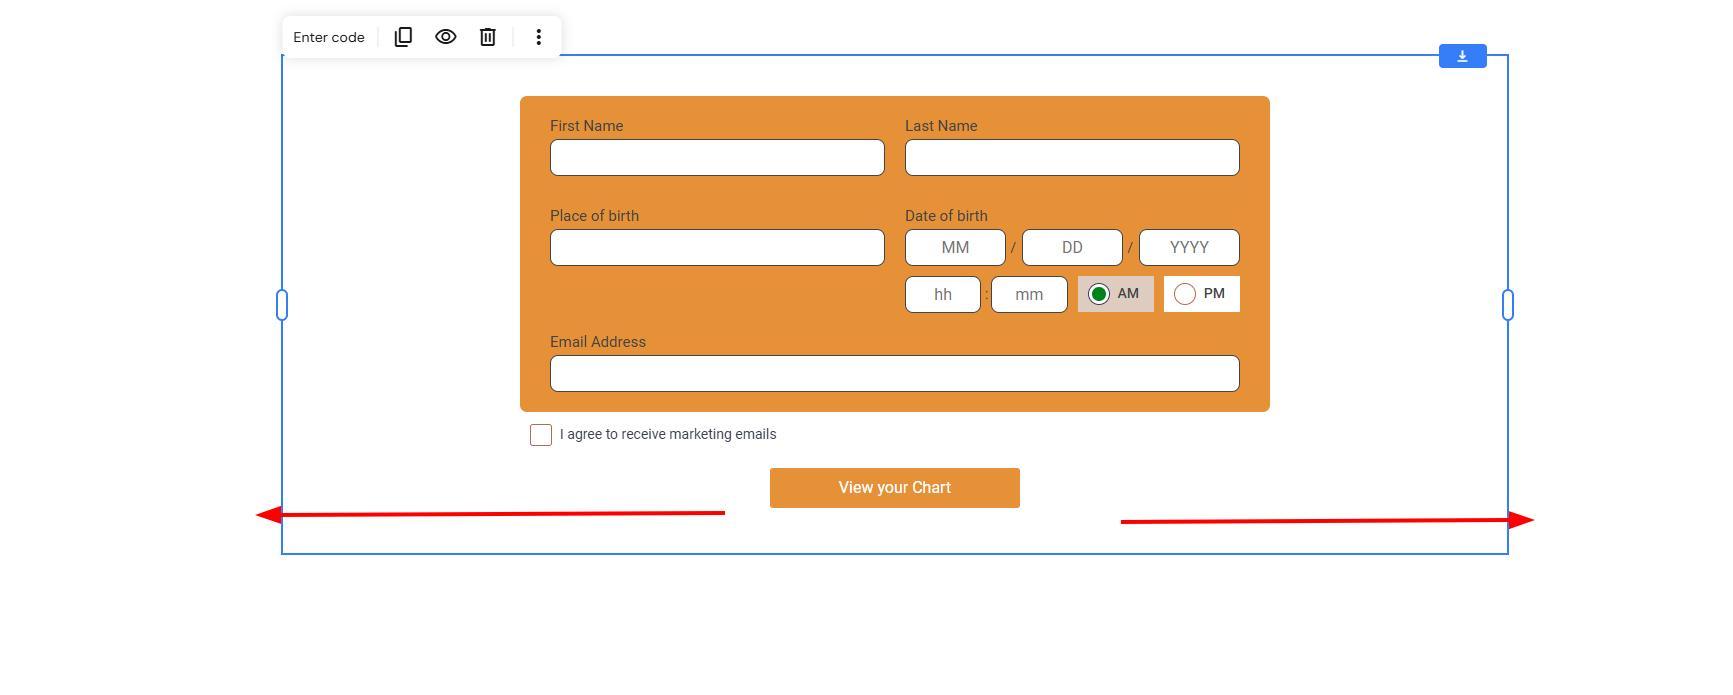
Your chart form will instantly appear inside the editor.
Step 5: Give the Chart Full Width
Very Important Layout Tip:
Always allow the chart to expand fully.
If placed in a narrow column:
The chart may look squished
Elements may overlap
User experience will suffer
Best practice:
Use full-width layout
Avoid tight sidebars
Step 6: Save and Publish
After embedding:
Click Save
Click Publish
Visit your live website
Test the form
Understanding the Embed Code Settings
Once embedded, you do not need to re-embed when making changes.
Any updates in Bodygraph go live automatically.
Maintenance & Testing (Critical)
All integrations require:
Periodic testing
Maintenance checks
App connection monitoring
Especially important if:
You use third-party apps
You sell reports
You collect emails
If Embed Code Stops Working
Most common reasons:
- Unpaid Bodygraph subscription invoice/account cancelation
Redirection misconfiguration
Third party app (if enabled) updates
Important Billing Notice:
If your invoice is unpaid, embed codes may be suspended.
Always keep billing details updated.
For more in depth training and troubleshooting please check video guide below:
Frequently asked questions:
– Can I embed multiple embeds to my website?
Yes, you can embed multiple embeds on your website as long as it is within one domain (and it’s subdomains). More related information can be found here.
– If I am uncertain about my Hostinger site builder choise, what Bodygraph has to offer?
Bodygraph offers 2 options to build the websites: built-in Website Builder (basic) and GoHighLevel extension site builder (advanced). We also recommend checking comparison tutorial here.
Related articles:
Editing integration design
Editing integration language
Changing submission form settings
Still have questions, is above guide outdated? Please message us on Live Chat or send an email to support@bodygraph.com.